Hello, I’m Alexander. Today’s build log will be a vignette with a rocky cliff face. This can be done quite cheap and easy for a more interesting display.
For every model I build I like to create groundwork to provide some context for the subject being displayed. Over the years, I found that creating 3D or vertically interesting vignettes are more immersive. This is because you’re able to convey much more context per area, looks more natural, and takes up less space in display case.
See the build video:
Previously I’ve built a variety of bases using several of the techniques utilized in this scene. Products used include: 1/8 inch cork sheets, static grass, real rocks and pebbles, fine gravel, earth paints, glue, Celluclay or paper mache, Plaster of Paris, and either a kit or at the supplies to cast your own rocks. Woodland Scenics makes craft kits targeted for school projects and provides everything you need to get going for a really cheap price. Links for some of the products can be found below:

Note: Affiliate links below – As an Amazon Associate, I earn a commission from qualifying purchases at no additional charge to you just by using the links listed.
Mountain Making Kit – better product for this build (US/CAN):
https://amzn.to/35RF5bW https://amzn.to/3mzUJi8
Rock Making Kit (US/CAN):
https://amzn.to/36413ZF https://amzn.to/3ch9Sju
Basing Kit (US/CAN):
https://amzn.to/33FXBS8 https://amzn.to/3iPDabM
Celluclay (US/CAN):
https://amzn.to/2RJAUGS https://amzn.to/3ceE9zt
Plaster of Paris (US/CAN):
https://amzn.to/2RFCbi6 https://amzn.to/3mBz0X5
Cork Sheet (US/CAN):
https://amzn.to/3kByFBN https://amzn.to/32IzMto
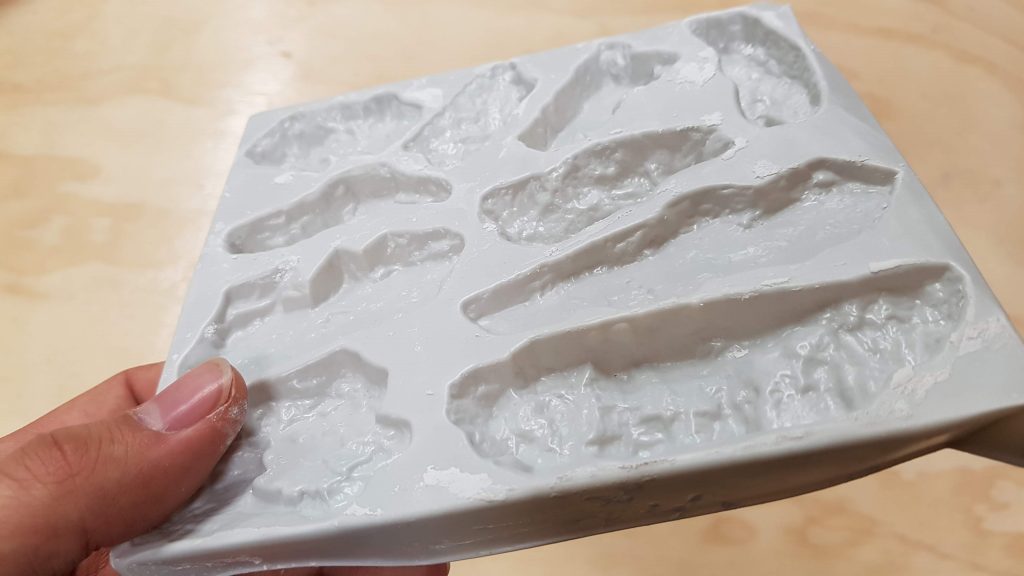
The most important component to create immersive rock work is the mold used for casting. Using a variety of shapes helps to ensure the natural appearance. Even with a cheaper option as used, the results are quite impressive. I personally used one of Woodland Scenics: SceneARama kits for casting the rocks. In the future I plan on upgrading from the vacuum formed plastic mold to larger silicone molds. Additionally, to make this process more enjoyable, a larger mold could have been used to create the rockface in a single part. Casting enough rocks is the first step in this process.
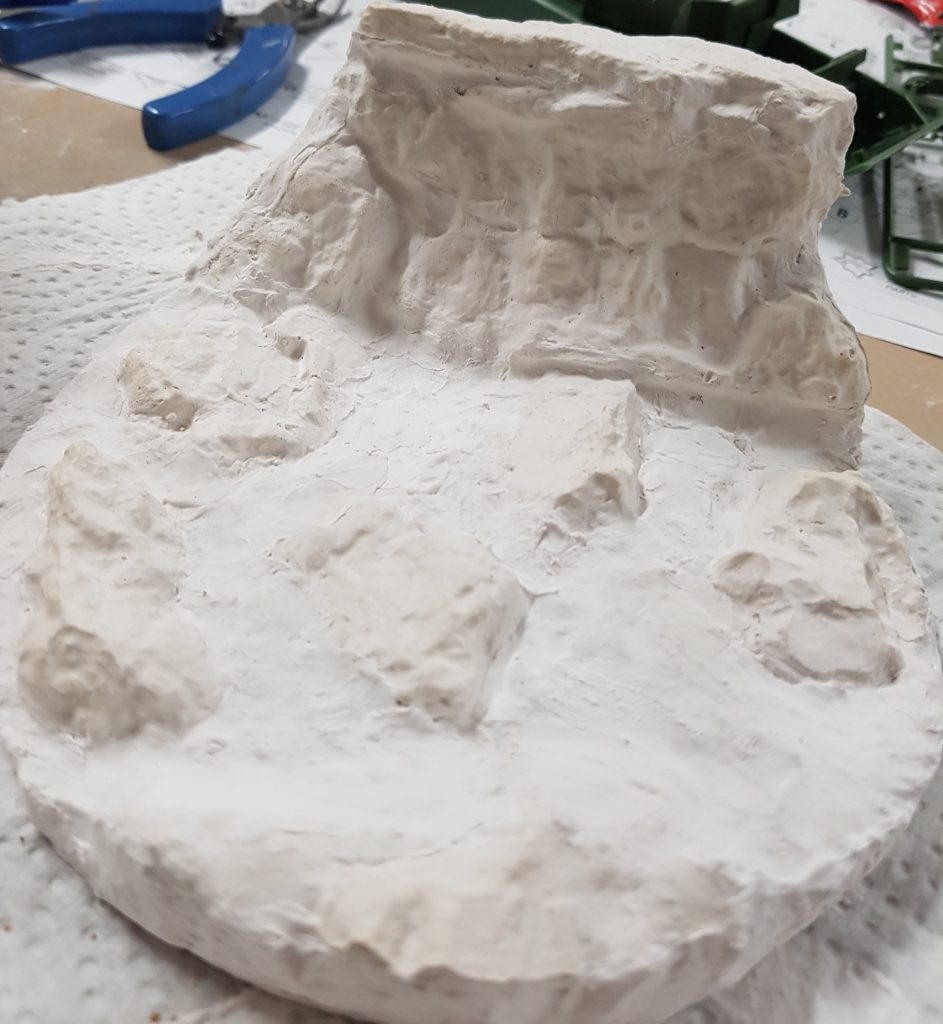
The initial structure of the base was created using 1/8th inch cork, hot glued together. I will often glue the completed base down on a frisbee (free from parades/events) or routered piece of wood which helps to determine the size of the vignette. Then the rough shape of the base was created using Celluclay. I find that the less water used results in the least amount of shrinking and warping as the Celluclay cures. I also find that the Celluclay goes a long way, I have been using the same 1lb package for many years now. When happy, the rocks were pressed into the Celluclay while still wet, so the rocks look like there being exposed from the ground rather than floating on top. This was then left overnight to dry.

Once dry, more plaster was mixed and applied with a (cheap) brush between the rocks to fill in any large gaps. Additionally, a thicker mix of plaster was done to sculpt together the different rock pieces making the main rock face. By applying this is several thin layers the rock face can look seamless very quickly. As mentioned previously, you could skip this step if you had purchased a larger mold.
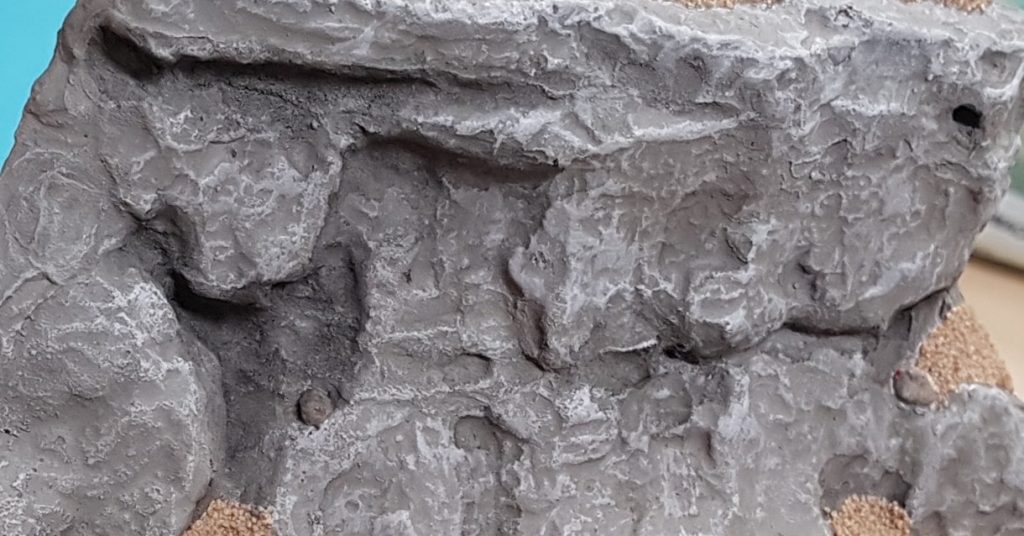
When happy with the rock geometry, the base was given a coat of brown paint to help seal the plaster. Then the rocks were painted grey, with several dry brushing passes with similar colors. Additionally, washes can be applied in select areas to further emphasize the texture. Due to the rough texture of the cast rocks this process takes little effort to yield convincing results.
After painting the rocks, a fine gravel representing dirt was applied, followed by, several small pebbles. The dirt product used was from Woodland Scenics, and the pebbles we’re from real rocks sifted out of my backyard. Once dry, the dirt was painted and some of the pebbles were painted in the same manner as the rockface. It is important to leave some of those pebbles painted like dirt to simulate either dirtballs or rocks covered in dirt as an exposed earth usually has a mixture of these.
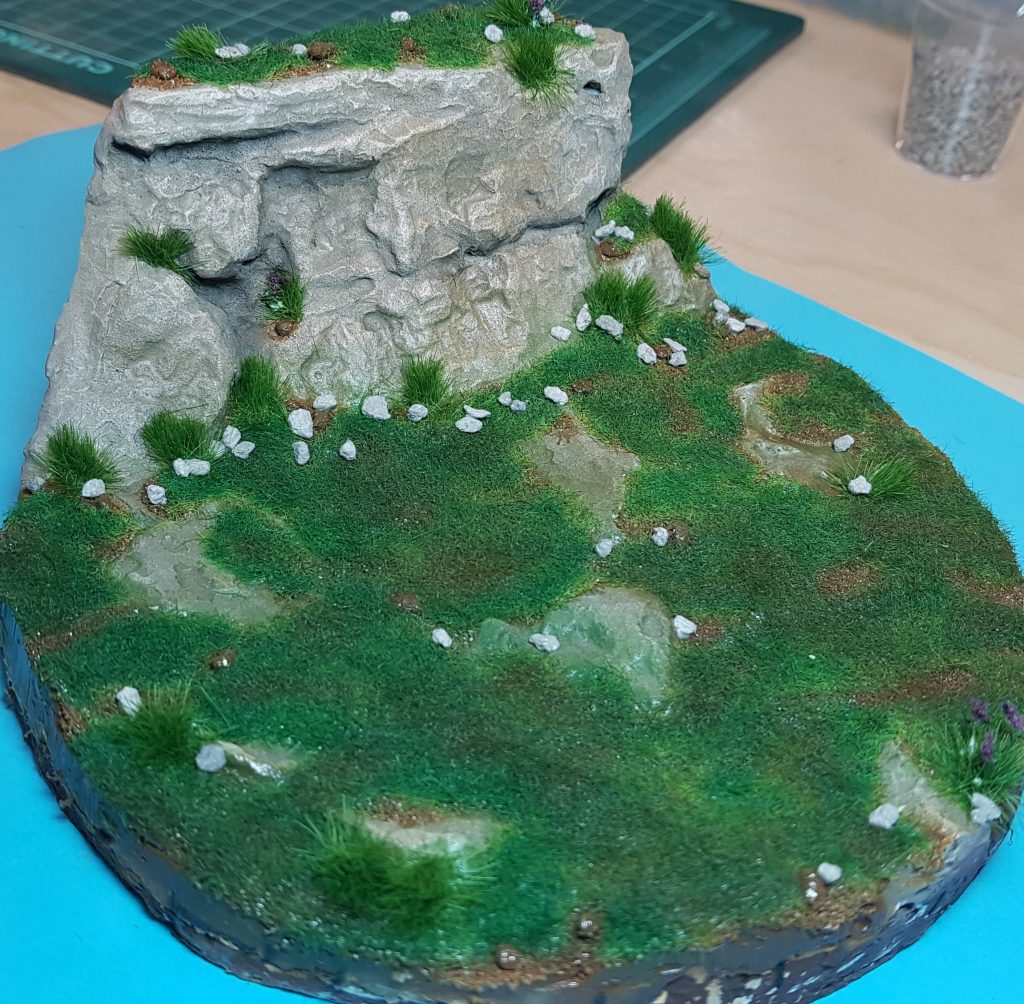
Static grass was then applied over the ground. A second height of static grass was used in addition to help add more realism to the scene. This was then painted to be a more natural colour. When that was done, I thought the grass looked too dark and overall, the base felt very cold. To warm up the colour of the base a light brown was used which also helped give a feeling of dust and grime to the rockface. By adding some vegetation on parts of the exposed surface also helps to break up the monotony and again looks more natural.

The last detail added what is a handful scale flowers/weeds to add some colour and interest to the base. The product used here was from a craft store for making Christmas villages – it came as one solid row and I slice chunks off look like individual flowers or weeds. I find that this technique can really set your vignettes apart from others as I do not commonly see wildflowers or weeds at my local model shows. Another good reason to add them is to develop a touch of colour to an otherwise bland scene and providing a nice contrast.
Now the base is complete!
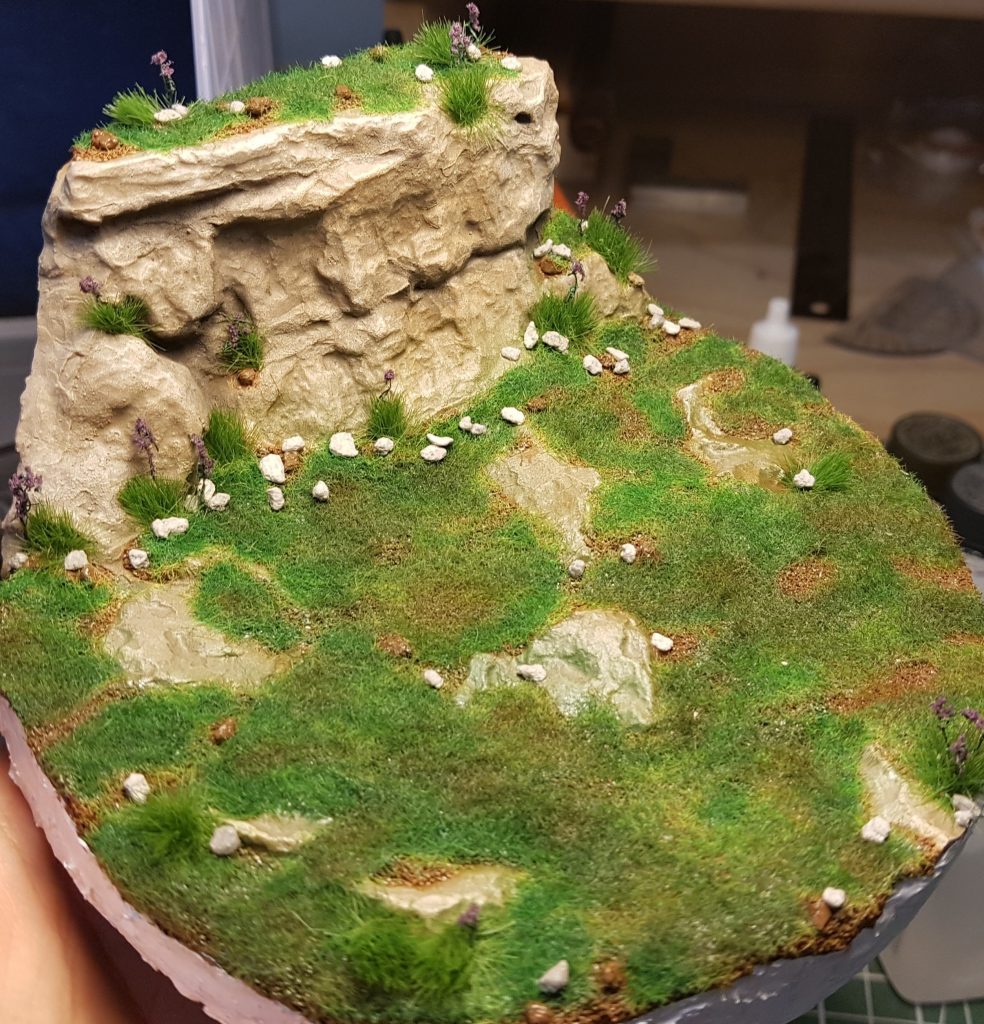
Part of the reason why I like building interesting basis for my models is due to the fact that you can make and impressive looking scene very quickly and is less stressful as you can be a little sloppier than with your miniature. Using your creativity, you can use a wide variety of materials and tell unique stories.
Thank you for Your support, if you would like to learn more about the tank on the space click the link below: